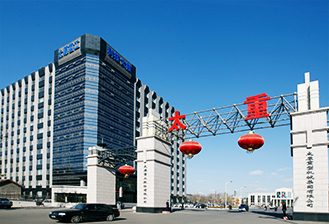
6165金沙总站线路检测地处山西省综改示范区晋中经济开发区,于 2012年9月注册成立,是集高端机械装备产品研发、生产、销售、服务为一体的省级高新技术企业。
公司现有员工160余名,科研人员32名,拥有专业的大型数控加工设备和检验检测设备80余台套,先后获得2项国家发明专利、41项国家实用新型专利,具备先进的机械装备产品制造能力和质量保证能力。
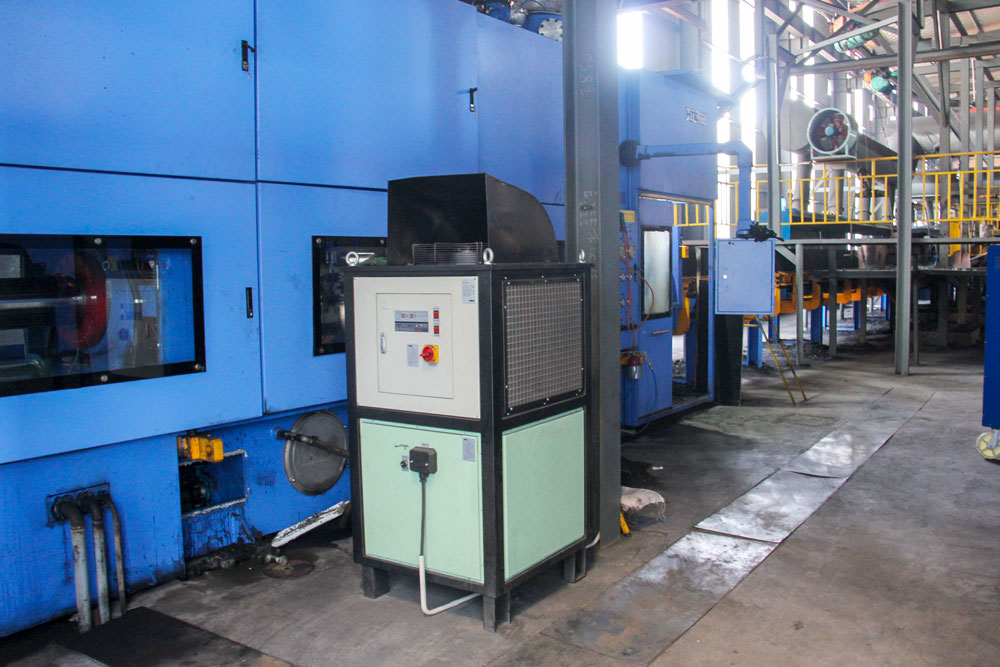
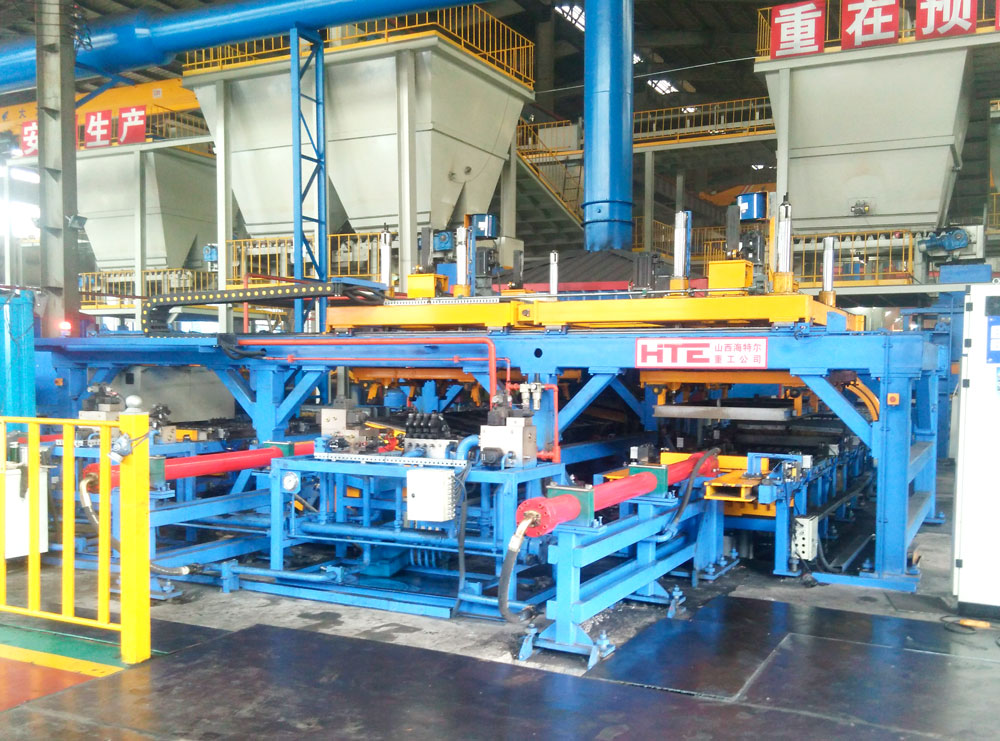
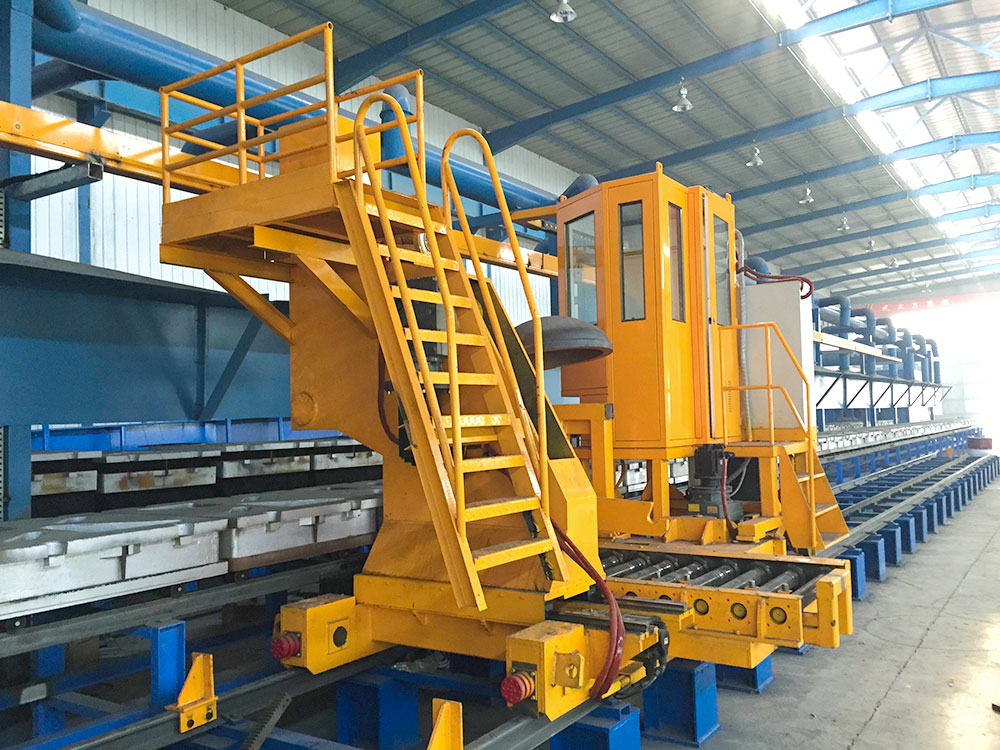
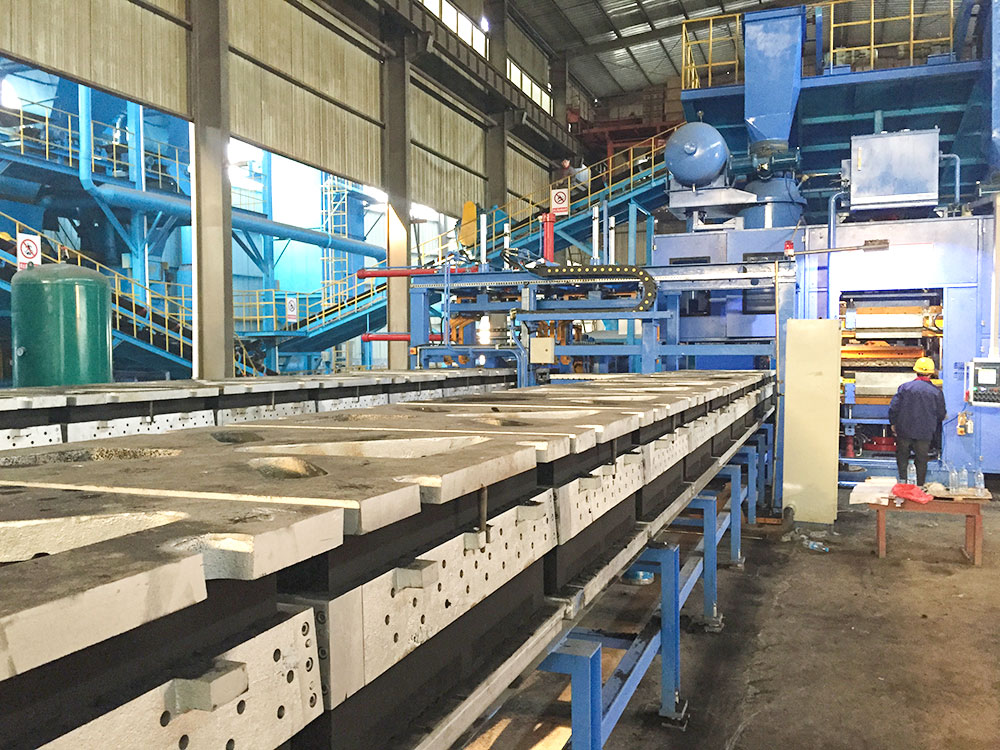
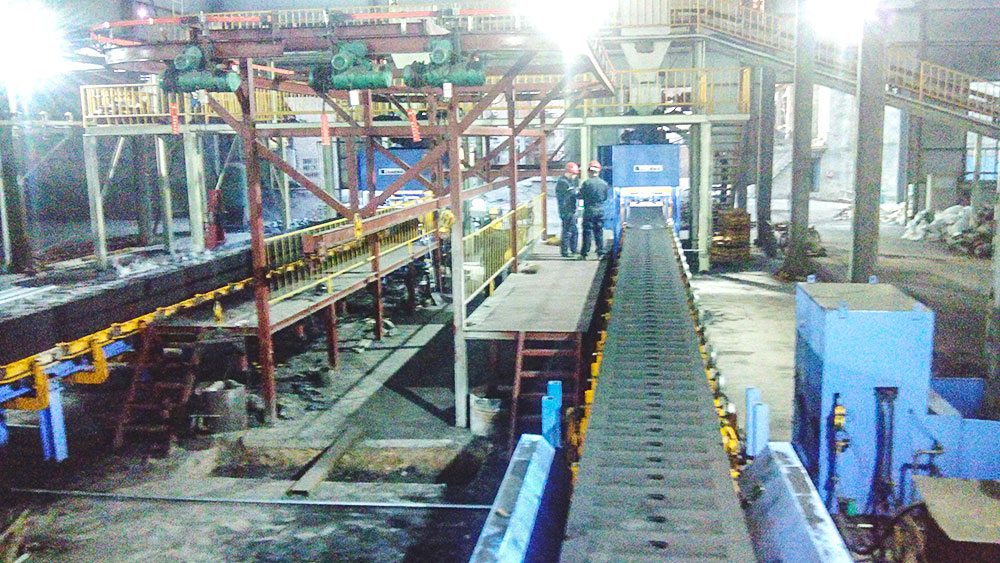
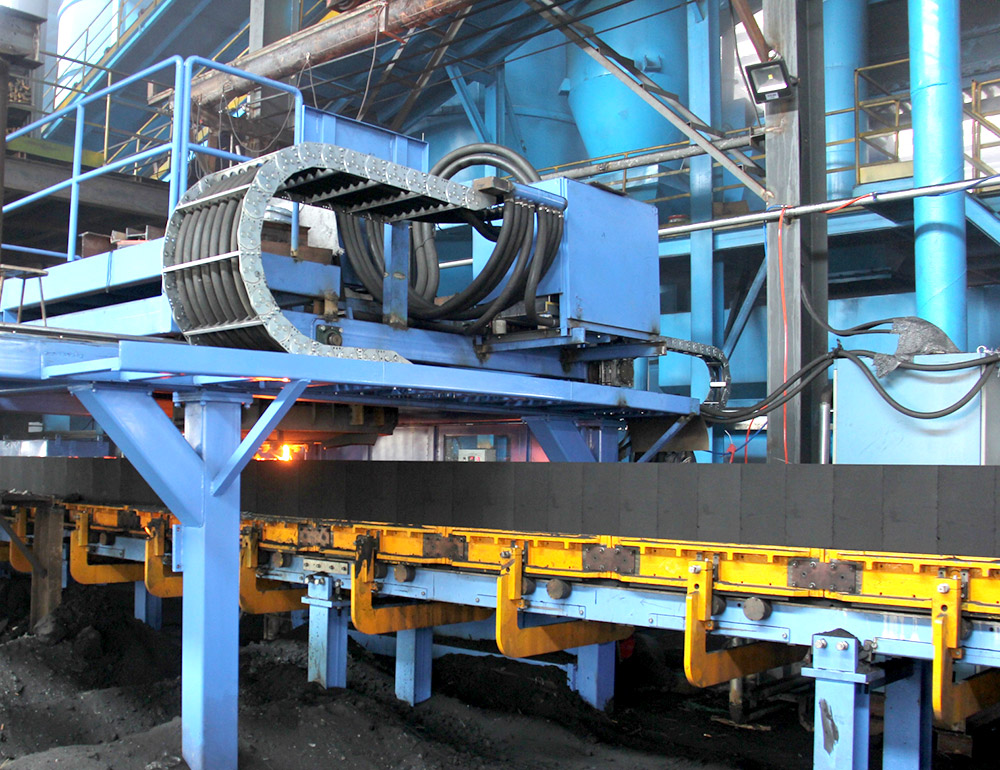
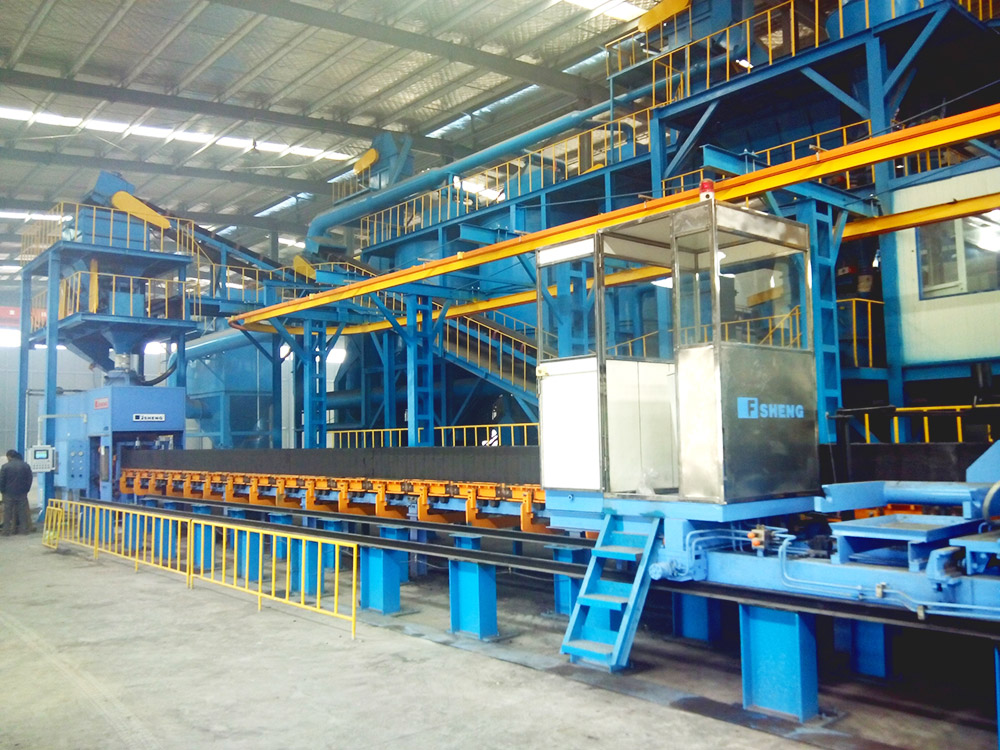
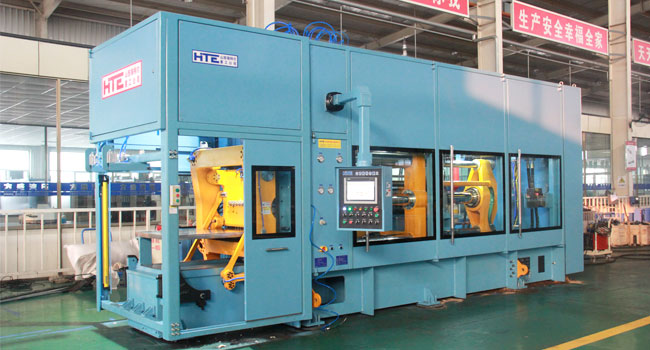
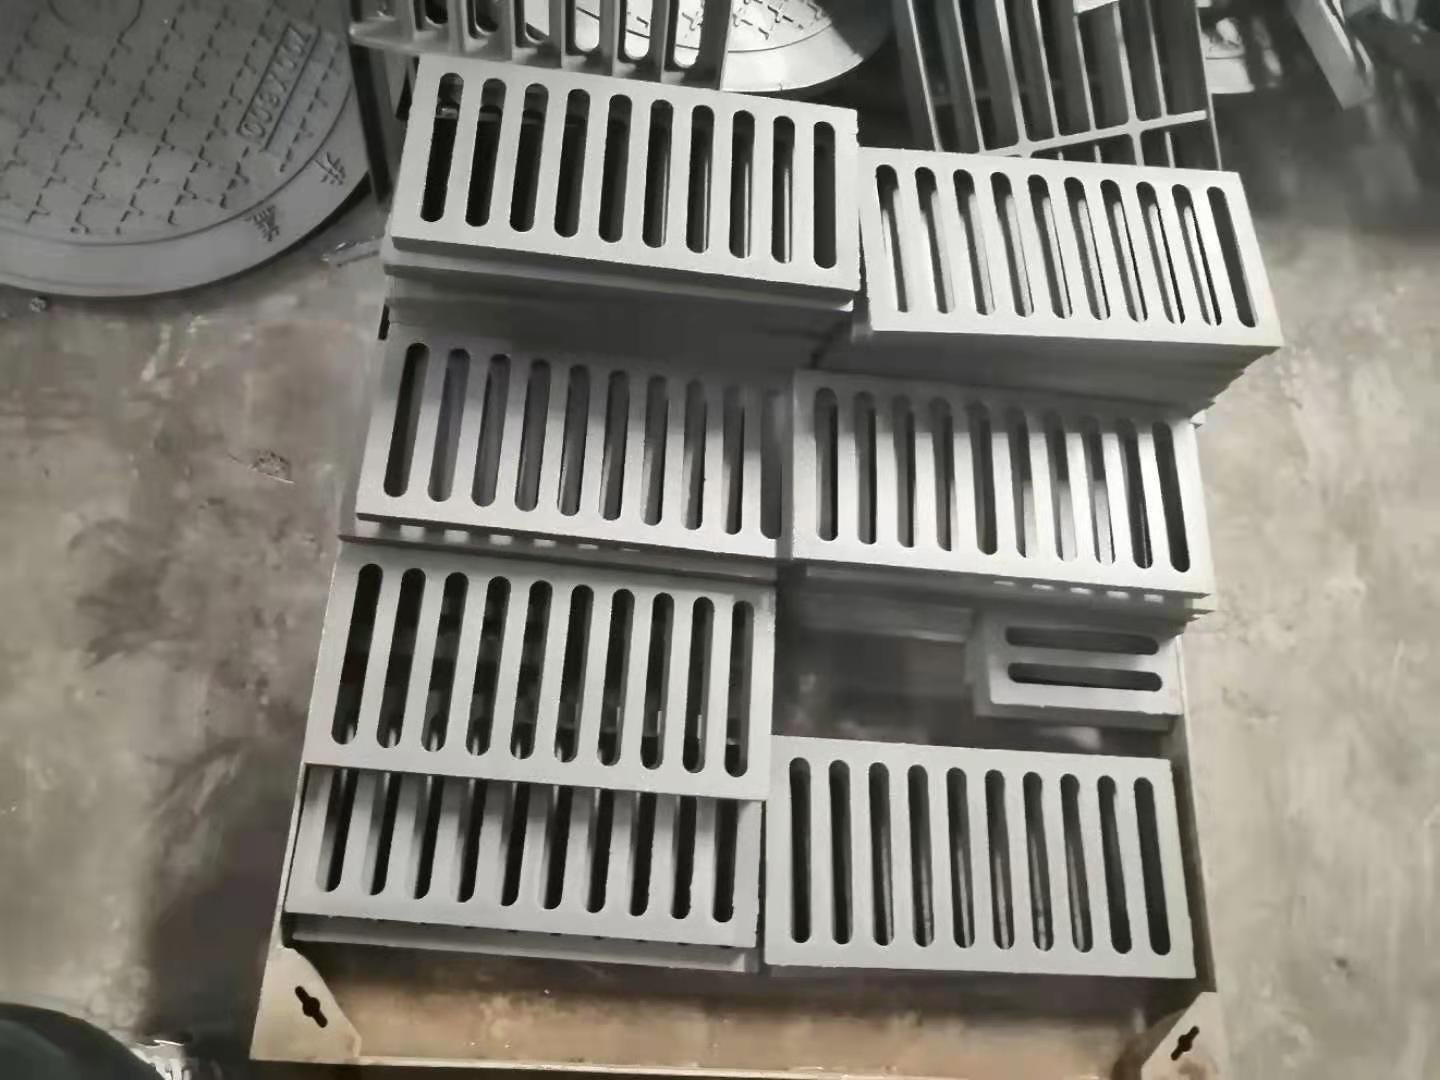
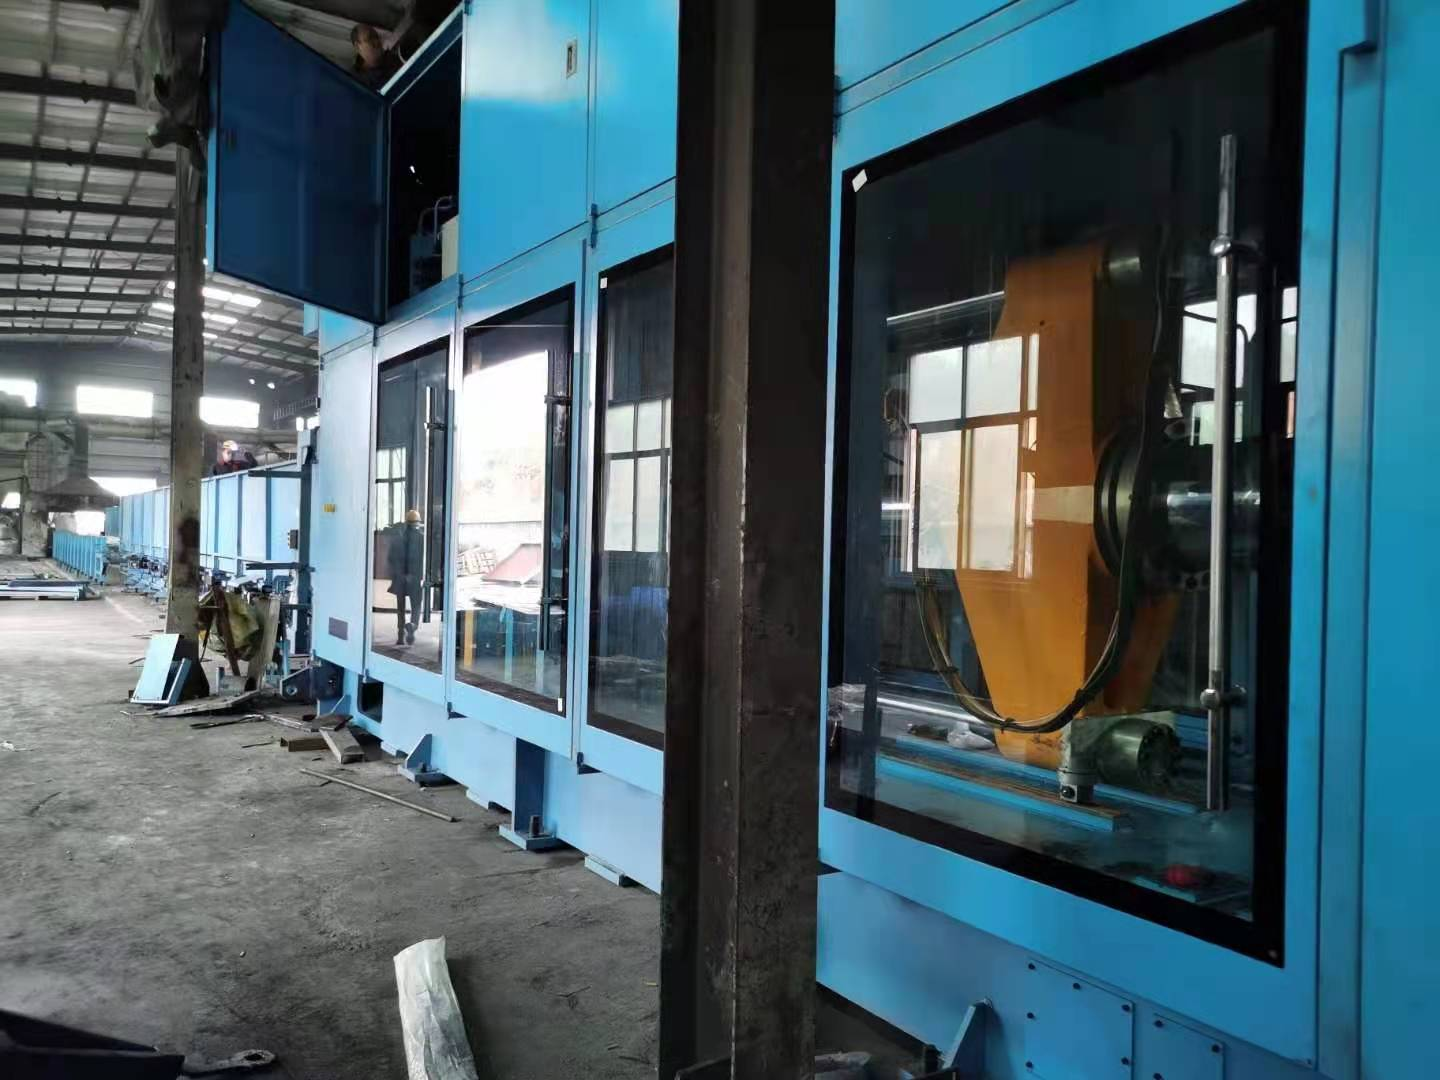
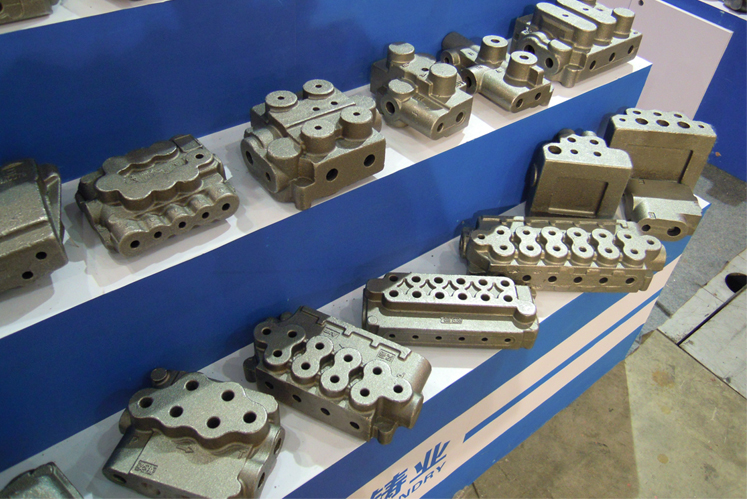
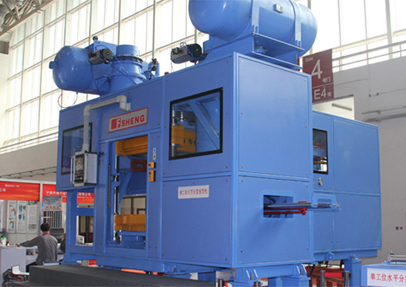
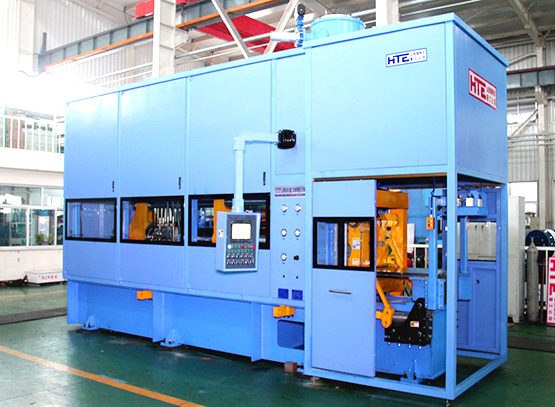
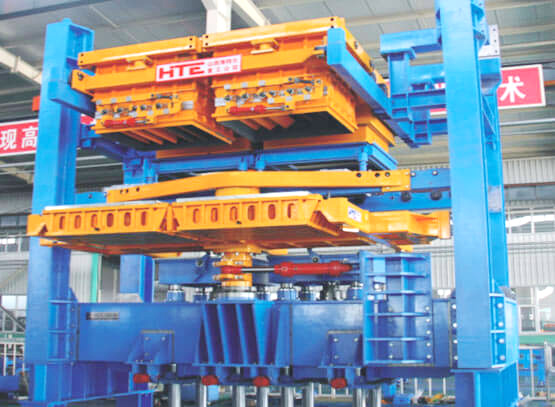
公司主导产品包括:铸造行业用自动造型机、自动浇注机、智能化打磨机器人等高端机械装备。产品广泛应用于电力金具、玛钢管件、汽车配件、建筑扣件、市政井盖水篦等铸造行业,产品遍布山西、河北、河南、广东、江苏、浙江、内蒙、四川等地200余家企业。
公司秉承“做好每件小事、成就一番大业”的企业精神,以“满足客户需求、超越客户期待”为经营宗旨,以“追求卓越品质、打造品牌价值”为努力方向,竭诚打造国内液压铸机品牌。我们愿以真诚携手广大新老客户及各界同仁,同心协力,不断创新,共铸明日辉煌!


微信公众号

梁总

杨工
如果您有合作意向或有任何疑问,欢迎在下方留言给我们。
.jpg)